For our end of term assignment we were to use our organic modelling techniques we had learned on the T-Rex to complete the boy Finn. We were given the image planes and a starting point with the feet.
Just as with the T-Rex I started in one view but constantly moved the image around to make sure it was keeping in line from the other angles. I extruded the legs up, doing a small offset at the ankle where the shoe overlaps, and continuing up until the start of the shorts. After that it was on to extruding edges instead. As I got higher up the shorts I started to angle the edge loops inwards toward the middle to create the correct topology. At the waist, I deleted the top faces so from there I could continue with extruding, but this time on new edges. I used the same method for the torso.


After creating the bulges for the shoulders, I added an extra edge loop so I could get a more rounded arm socket. I then selected those faces and extruded the arm out from there. The fingers were difficult to see from the images, but as I got to the area, there were four distinct parts from which I could fashion some fingers. They were quite fiddly to get into the right shape as they didn't have enough edges, but I didn't want to add edge loops which went up the entire arm, plus I knew that the sub division stage and smoothing will be enough.


I used a similar offset extrude as the ankles and waist to start the neck. As I was going up the head I was studying the example images of the correct way to get a good topology and it appeared as if they separated one half to go under the jaw, and one half to go up the back of the head to meet at the face. I was going to do the same, but obviously this characters head is very large, much larger than normal so I would have to do extra extrudes round the back and top.


I got all the way round to the front of the head, and I noticed from the examples that the face area had less faces, and so they had managed to combine some edges. At first I tried to do this by extruding only the middle 4 faces from each of the sides, leaving the corners and then merging the vertices and filling the hole which was left. This didn't work with the mirroring on, the fill hole function wouldn't work correctly. I turned the mirror off, mirrored properly and merged the halves. I then bridged the gap vertically and horizontally across the face then filled the holes that were left at the corners. Still more faces than I wanted but it turned out ok.


I then added subdivisions but unfortunately ended up with 8900 tri's which is quite far over the suggested limit. I thought I had managed to keep it under! Obviously not.


After the subdivisions and smoothing I unwrapped the UV's making cuts in optimal places and positioning the pieces of least distortion. Looking back at the image now, unfortunately it looks like the head didn't get too much resolution and ended up with the most distortion of all the pieces, I will remedy that next time!

Next I exported it as an OBJ and took in into Mudbox for painting. I used the stencil and projection tools, using the images from the source image folder to paint the features directly on to the model. I then filled in all the detail and the gaps manually.

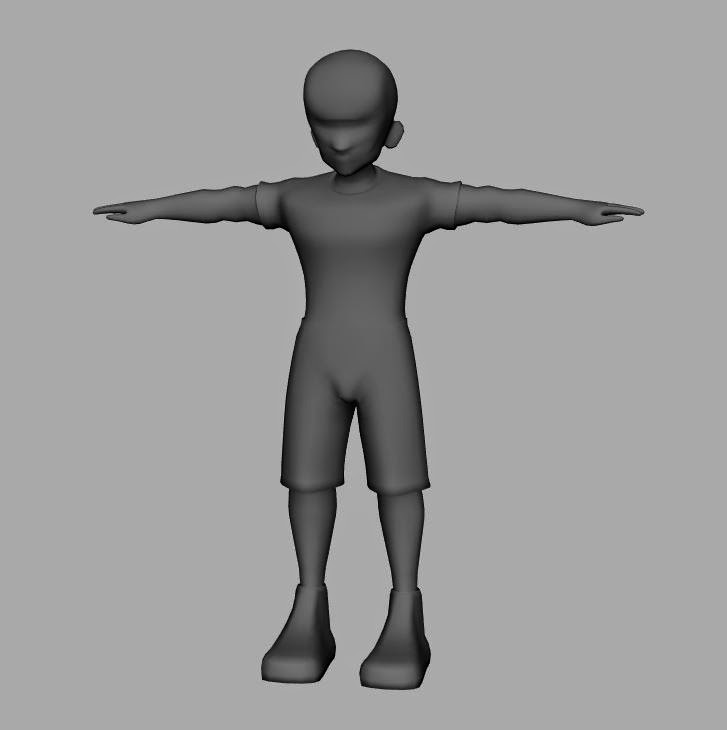
Below is the matte, smoothed, fully painted complete model:


No comments:
Post a Comment
Note: only a member of this blog may post a comment.