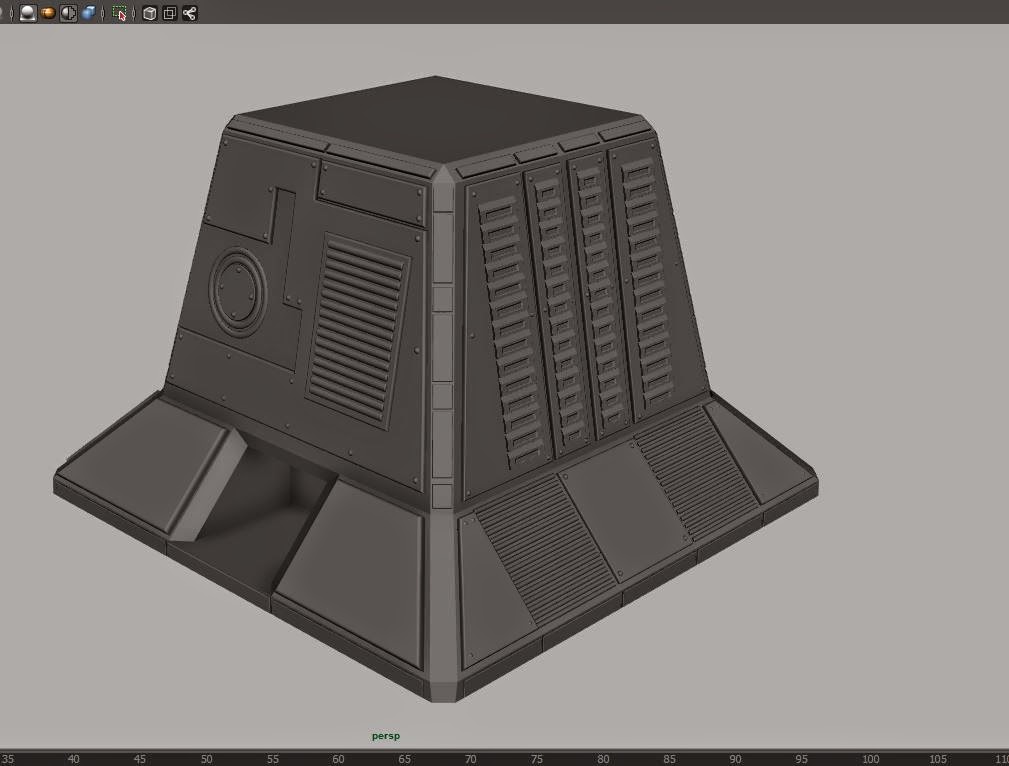
In the classes we have been mostly working on a gun turret similar to those on the Death Star in Star Wars. We have been going through the whole process, from first modelling it, through to normal maps, texturing and then creating a small animation for it.
The first week we were given the task to try and copy the turret shown to us as accurately as possible. Below is my final part version from that lesson. I found most of it fairly straight forward apart from I made the mistake of making the turret cylinder attached to the base of the barrel. When it came to mirroring the oddly shaped section I couldn't easily just copy that one section.
In the next lesson we moved on to creating high poly detail which we would be able to then create normal maps from.
I didn't fully finish my detailing so when it came to creating the normal maps and texturing I used the example version. We created the normal and ambient occlusion maps using X-Normal and took the finished ambient occlusion maps into Photoshop for texturing. We added the maps and textures back to the model in Maya.
I found this part straight forward as well. The idea of texturing in this way is very quick and almost feels like cheating considering how good the finished product looks. I found a simple scratched metal texture, layered it and added some light brown brush strokes to simulate a bit of dirt or rust.
Finally we learned how to set up a simple rig and then animate some basic rotations by using proper groupings and locking certain areas to make it more efficient to animate.


No comments:
Post a Comment
Note: only a member of this blog may post a comment.